
Print-Ready Artwork Checklist: Size, Bleed, DPI, Color and PDF Setup
Preparing artwork for print is different from preparing a graphic for a website or social post. A design can look crisp on a monitor and still produce unexpected borders, soft images, clipped details, or color shifts when printed. The reason is that print production depends on physical dimensions, image resolution, bleed, color handling, safe margins, and the file requirements of the printer.
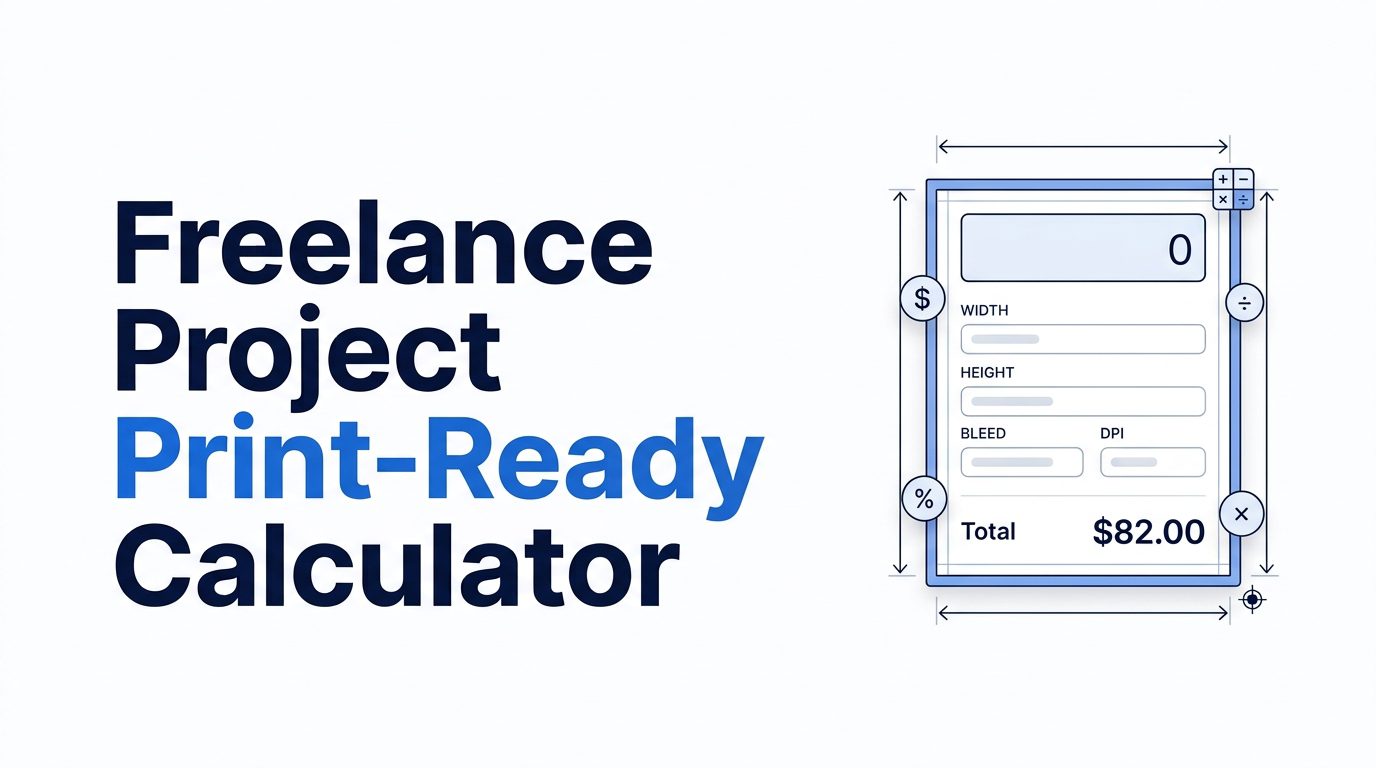
This guide explains how to prepare a print-ready file for common products such as flyers, business cards, posters, invitations, labels, and brochures. Use the Zynprint Print-Ready Artwork Calculator to calculate pixel dimensions for a chosen print size, resolution, and bleed. The calculator helps with dimensions; it does not replace the printer’s own production specifications.
What does print-ready artwork mean?
Print-ready artwork is a final production file that meets the requirements of the intended print process. Depending on the product and printer, this may include the correct finished size, bleed, safe area, image resolution, color mode or color profile, embedded or outlined fonts, linked assets, and an accepted export format such as PDF/X or a printer-specific PDF preset.
There is no single universal specification for every print job. A commercial offset printer, digital press, large-format sign provider, and online print service may request different bleed amounts, color profiles, PDF standards, or finishing allowances. Always check the supplier’s template or artwork guide before exporting.
1. Start with the finished trim size
The trim size is the final physical size after the printed sheet is cut. For example, A4 is 210 × 297 mm, while A5 is 148 × 210 mm. A business card might use a finished size specified by the printer, which can vary by market and product. Do not assume a familiar size applies to every supplier.
Set your document to the finished dimensions first. If the printer provides a template, use it as the source of truth. Confirm orientation, page count, fold direction, and whether the supplied dimensions refer to the finished product or the full artwork including bleed.
When working in pixels, remember that pixel dimensions depend on resolution. The same physical size has more pixels at 300 DPI than at 150 DPI. The Print-Ready Artwork Calculator can convert a physical size and target DPI into a pixel requirement, helping you avoid guessing.
2. Add bleed to artwork that reaches the edge
Bleed is extra artwork extending beyond the trim line. It gives the cutting process a margin of image or background so tiny shifts during trimming do not expose an unintended white edge. If a design has a full-bleed background, photograph, color panel, or illustration, extend that element through the bleed area.
A common example is 3 mm bleed on each side, but this is not a universal rule. Some print products require different bleed, and some suppliers provide templates with exact measurements. If a printer asks for 3 mm bleed on a 210 × 297 mm page, the full artwork dimensions become 216 × 303 mm. The finished trim remains A4; the larger dimensions include the bleed.
Do not add bleed by scaling the entire design after completion. Extend the background and edge-reaching elements beyond the trim while keeping important text and logos inside the safe area. The calculator can help determine the overall dimensions when you enter the required bleed on each side.
3. Keep essential content inside the safe area
The safe area is the interior region where important content should remain to avoid being too close to the cut or fold. Keep headlines, body text, logos, QR codes, faces, and other critical elements comfortably inside the printer’s recommended margin.
Bleed and safe area solve different problems. Bleed protects edge-to-edge backgrounds from white slivers; the safe area protects important content from being trimmed or appearing crowded. For folded products, also account for fold positions, panel widths, and any printer-specific allowance for creep or binding.
Use guides or template layers to mark trim, bleed, and safe boundaries. Before export, hide non-printing guides and confirm that no important object crosses a fold or trim line unintentionally.
4. Choose suitable image resolution
Resolution describes how many image pixels are available for a physical print size. A frequently used target for standard close-view commercial print is 300 pixels per inch at final size, but the right value depends on the output size, viewing distance, image quality, and printer requirements. Large-format graphics viewed from farther away may use a lower effective resolution.
Do not confuse a file’s metadata DPI setting with actual image detail. Changing a low-resolution image’s DPI label without adding pixels does not restore missing detail. If an image is 1200 pixels wide and placed at 4 inches, its effective resolution is 300 PPI. If enlarged to 8 inches without resampling, it is 150 PPI.
Check effective resolution in your design application after placing and scaling images. Avoid enlarging small web images beyond what their pixel dimensions support. Use original photographs or high-resolution exports whenever possible.
5. Understand RGB, CMYK, and color profiles
Monitors emit light and commonly display color using RGB. Many conventional print workflows use CMYK inks or toner, although modern devices and specialty processes may use additional colorants. Some print providers request RGB files and perform conversion themselves; others require CMYK with a specified profile.
Do not convert blindly to a random CMYK profile. Color conversion depends on the printing condition, paper, ink limits, and the provider’s workflow. Ask for the recommended ICC profile or PDF export preset when color accuracy matters. Very bright RGB colors may not be reproducible in a standard CMYK process, and some colors can shift when converted.
For brand-critical work, request a proof or follow the supplier’s color-management guidance. A monitor preview is not a guarantee of the final printed color, especially when the display is uncalibrated or the paper stock changes.
6. Use fonts and vector artwork carefully
Fonts can create production problems if the receiving system does not have the same font files. Depending on the application and printer’s requirements, embed fonts in the PDF or convert text to outlines. Outlining can prevent font substitution, but it also makes text less editable and may affect accessibility or text extraction. Keep an editable source file separately.
Logos, icons, and line art are often best kept as vector artwork because vectors can scale without the same pixelation limits as raster images. Check that strokes, transparency, clipping masks, and effects export as expected. For raster artwork, inspect at actual size and avoid artifacts caused by repeated compression.
7. Export the right PDF or production file
PDF is widely used for print delivery, but the correct export settings depend on the printer. Some providers request PDF/X-1a or PDF/X-4; others supply their own preset or accept native formats. Follow the requested standard rather than selecting a PDF option solely because it sounds more professional.
Check the export options for bleed, crop marks, color conversion, image downsampling, transparency, and font embedding. Crop marks should be included only if the printer requests them; some automated workflows prefer files at exact dimensions with bleed but no marks. Avoid adding printer marks inside the required artwork area.
After export, reopen the PDF and inspect every page. Verify page size, orientation, bleed, image sharpness, font appearance, overprints or transparency, and that no hidden guides or unwanted objects appear. A successful export dialog does not prove the file is production-ready.
8. Print-ready checklist for common products
Flyers and posters
Confirm final size, orientation, image resolution at placed size, bleed on edge-to-edge elements, and a safe margin for text. For large posters, ask the printer about recommended resolution and whether the artwork will be viewed close up or from a distance.
Business cards
Use the supplier’s exact card dimensions and template. Keep small text readable, avoid placing essential details close to trim, and confirm whether the printer wants rounded-corner or special-finish allowances. QR codes should have sufficient contrast and be tested from a proof when possible.
Brochures and folded leaflets
Confirm panel sizes, fold direction, safe areas, and any creep adjustment required for multi-page or folded work. Make sure the inside and outside panels are ordered correctly, and check that backgrounds continue across folds where intended.
Labels and packaging
Use the dieline supplied by the printer or packaging manufacturer. Confirm cut lines, fold lines, glue areas, barcode requirements, and any white-ink or spot-color layers. Dielines are production instructions and should not accidentally print as visible artwork unless requested.
9. Common print-preparation mistakes
- Using the wrong finished dimensions or confusing trim size with bleed size.
- Leaving edge-to-edge backgrounds exactly at the trim line.
- Placing important text too close to trim, fold, or binding areas.
- Upscaling low-resolution images and assuming a DPI label fixes quality.
- Converting colors without the printer’s requested profile or workflow.
- Exporting with missing fonts, unwanted marks, or incorrect page size.
- Skipping a final PDF inspection or proof review.
- Ignoring supplier templates for specialty products, folds, die cuts, or finishes.
10. A practical preflight workflow
- Obtain the printer’s current specifications and template.
- Set the finished trim size and document orientation.
- Add the specified bleed and mark the safe area.
- Place high-quality images and check effective resolution at final size.
- Confirm color handling, profiles, and any spot-color requirements.
- Review fonts, vector objects, transparency, and linked assets.
- Export using the requested PDF standard or preset.
- Reopen the exported file and inspect dimensions, pages, sharpness, and content.
- Request a proof when the job is color-critical, complex, or costly to reprint.
Frequently asked questions
Is 300 DPI always required for print?
No. 300 PPI is a common target for many close-view printed materials, but large-format work and specific print processes may use different requirements. Follow the printer’s specifications and check effective resolution at the final placed size.
How much bleed should I add?
Use the exact bleed requested by the printer or shown in its template. Three millimeters is a common example for some commercial print jobs, not a universal standard. Products with special finishing may require different allowances.
Should I always convert artwork to CMYK?
No. Some providers request CMYK with a specific profile; others accept RGB and handle conversion. Ask the printer which workflow and profile to use, especially for brand colors or specialty printing.
Can I send a PNG or JPG instead of a PDF?
Only if the printer accepts that format and the file meets its dimensions, resolution, and color requirements. PDF is common for production because it can preserve page dimensions, vector elements, and font information, but the supplier’s instructions take priority.
What does the Print-Ready Artwork Calculator calculate?
It helps convert physical dimensions, resolution, and bleed into pixel and overall artwork dimensions. It is a preparation aid; it does not inspect fonts, color profiles, transparency, image quality, or the printer’s complete preflight requirements.
Final takeaway
Reliable print preparation starts with the printer’s specifications, then checks trim size, bleed, safe area, image resolution, color handling, fonts, and export settings. Use the Zynprint Print-Ready Artwork Calculator to calculate dimensions and pixels, then complete a manual preflight and follow the supplier’s instructions before sending the job to production.