
Print-Ready Artwork Checklist: Bleed, Margins, Resolution and PDF Setup
Preparing artwork for professional printing involves more than choosing a page size and exporting a PDF. A file can look correct on screen yet print with soft images, clipped text, unexpected borders, or colors that differ from the design. The most reliable way to reduce avoidable problems is to check the artwork against the printer’s specifications before sending it.
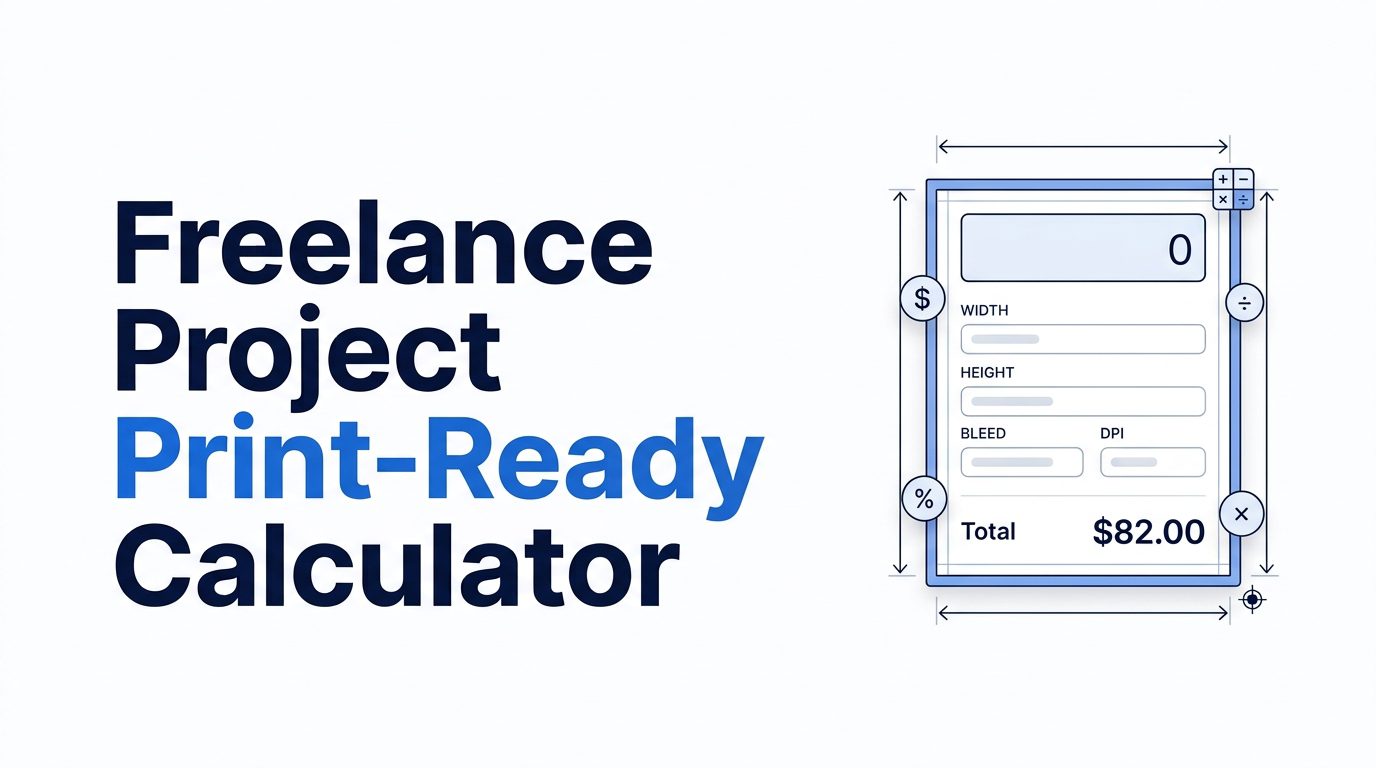
This practical guide explains the essential print-ready checks: dimensions, bleed, safe margins, resolution, color mode, fonts, image links, and export settings. Use the Zynprint Print-Ready Artwork Calculator to help work through key size and production measurements, then confirm the final settings with the print provider. Printer requirements vary by product, equipment, paper, finishing, and workflow; a calculator is a planning aid, not a substitute for the printer’s supplied template or preflight instructions.
What does print-ready artwork mean?
Print-ready artwork is a file prepared to the production requirements of a specific print job. It should have the correct final dimensions, adequate image quality, suitable color settings, necessary bleed and safe areas, properly handled fonts, and an export format accepted by the printer. The goal is to make the intended design reproduce predictably and avoid preventable production delays.
There is no single universal print-ready preset. A business card, large-format banner, booklet, sticker, and packaging label may require different dimensions, bleed, color profiles, overprint behavior, dielines, and PDF standards. Start with the product specification and template provided by the printer.
1. Confirm the final trim size
Trim size is the finished physical size after the printed sheet or material is cut. Confirm width and height, orientation, units, and whether the specification refers to the finished size or the full file including bleed. Mixing these measurements is a common source of incorrect exports.
For example, if a flyer’s finished size is 210 × 297 mm, that is the trim size. If the printer requires 3 mm bleed on every edge, the artwork extends beyond the trim boundary. The full page dimensions become 216 × 303 mm when the bleed is included on all four sides. The exact bleed amount should always come from the printer’s specification.
2. Understand bleed and why it matters
Bleed is extra artwork that extends beyond the trim edge. It provides a margin of tolerance for cutting, helping prevent thin unprinted slivers if the cut shifts slightly. Any background color, photograph, or graphic intended to reach the edge should extend through the bleed area.
Bleed is not part of the finished visible page. It is trimmed away during finishing. Do not place essential text, logos, QR codes, or other important elements in the bleed area. Keep them inside the safe area recommended by the printer.
Calculate the full document size
When bleed is specified equally on both sides, use:
Full width = trim width + (2 × bleed)
Full height = trim height + (2 × bleed)
Example: a 100 × 150 mm card with 3 mm bleed on each edge requires a 106 × 156 mm artwork area including bleed. This simple calculation is useful when setting up a document, but use a printer template when one is supplied.
3. Keep important content inside the safe margin
The safe area is an inset region within the trim boundary where essential content should remain. It helps protect text and important design elements from being cut too close to the edge. The required distance depends on the product and finishing method; a folded brochure, business card, and large poster may have different recommendations.
Keep body text, contact details, logos, page numbers, and other critical content comfortably within the safe area. For folded products, also account for fold positions and avoid placing small text directly across a crease. For bound documents, follow the printer’s gutter and binding allowances.
4. Check image resolution at final print size
Image resolution describes the amount of image detail available at a given physical output size. A common target for close-viewed commercial print images is 300 pixels per inch (PPI) at the final placed size, but this is not a universal requirement. Large-format graphics viewed from farther away may use lower effective resolution, while fine detail may require more.
Resolution must be evaluated at the size the image will print. Enlarging a small image in a layout does not create new detail; it reduces its effective PPI. For instance, a 1200-pixel-wide image placed at 4 inches wide has an effective resolution of 300 PPI. If enlarged to 8 inches, its effective resolution becomes 150 PPI.
Use original high-quality assets where possible. Avoid repeated resampling and excessive compression. Inspect photographs at actual size and check that logos or line art remain crisp. Vector artwork is often useful for logos, icons, and text-based graphics because it can scale without the same pixelation limits as raster images.
5. Choose the correct color workflow
Displays use light to create color, while conventional printing uses inks or other physical colorants. As a result, a color that looks bright on a monitor may reproduce differently on paper. CMYK is commonly used for process printing, but the correct color profile and conversion workflow depend on the printer, press, substrate, and production method.
Ask the print provider which color profile to use and whether to supply RGB artwork or convert to a specified CMYK profile. Avoid converting repeatedly between color spaces. If exact brand color matters, ask about spot colors, proofing, and acceptable tolerances. A calibrated monitor can improve design consistency, but it does not replace a physical proof when color accuracy is critical.
6. Prepare fonts and typography
Fonts can cause substitutions or reflow if the receiving system does not have the same font installed. Depending on the file format and printer requirements, you may need to embed fonts in the PDF or convert text to outlines. Outlining can prevent font substitution, but it also makes text less editable and can complicate accessibility or later revisions.
Keep an editable source file for your own records. Before outlining, proofread the text carefully and preserve a copy with live type. If the printer requests embedded fonts, verify the export settings and inspect the resulting PDF. Check small text, thin strokes, overprinting, and transparency effects according to the printer’s preflight guidance.
7. Export a suitable PDF and inspect it
Many commercial printers accept PDF files, often with a specified PDF/X standard or export preset. Do not assume one preset is right for every job. Follow the printer’s instructions for bleed, crop marks, color profile, transparency, compression, and page boxes.
After export, reopen the PDF and inspect every page. Check trim and bleed dimensions, image sharpness, font handling, transparency, page order, and whether any content has shifted. If crop marks are requested, ensure they are outside the bleed area and do not overlap the artwork. Some printers prefer no crop marks because their workflow adds marks automatically.
8. Use a preflight checklist before sending files
- Confirm the finished trim size, orientation, and measurement units.
- Use the printer’s specified bleed and extend edge artwork through it.
- Keep essential content inside the recommended safe area.
- Check placed image resolution at final output size.
- Use the printer’s required color profile and color workflow.
- Embed fonts or outline text only as instructed, and keep an editable original.
- Check linked assets, transparency, overprint, and spot colors where applicable.
- Export to the requested file format and standard.
- Reopen the exported file and inspect all pages at high zoom and at actual size.
- Use the printer’s template and preflight report if provided.
- Confirm filenames, page order, quantities, finishing, and delivery requirements.
Common print-preparation mistakes
Confusing trim size with bleed size
Entering the full bleed dimensions as the finished page size can result in the wrong final product dimensions. Label trim size and full artwork size separately in your setup notes.
Leaving white gaps at the edge
If a background is meant to print to the edge, extend it through the bleed. Stopping it exactly at the trim line can expose a white edge after cutting tolerance is considered.
Placing text too close to the edge
Important content near the trim may appear cramped or risk being cut. Follow the recommended safe margin and review the design at actual size.
Using low-resolution images
Images copied from websites or messaging apps may be compressed or too small for the intended output. Use original files and check effective resolution after placing and scaling them.
Assuming RGB-to-CMYK conversion is automatic and harmless
Color conversion can change appearance, especially for highly saturated colors. Follow the printer’s workflow and request a proof for color-critical work.
Exporting without checking the PDF
A successful export does not guarantee correct production settings. Inspect the actual exported file, not just the design document.
Worked example: setting up a print-ready flyer
Suppose a printer requests a finished flyer size of 148 × 210 mm, 3 mm bleed, and a PDF with fonts embedded. Begin with the trim dimensions and add 6 mm to both width and height to account for bleed, producing a full artwork size of 154 × 216 mm. Extend any edge-to-edge background to the outer boundary. Keep essential text within the printer’s safe margin, place images at suitable effective resolution, and use the requested color profile.
Export using the required PDF preset, include crop marks only if requested, then open the PDF and verify dimensions, bleed, text, and image quality. If the printer provides an automated preflight report, resolve its warnings or ask the provider about any item you do not understand before approving production.
How the Print-Ready Artwork Calculator helps
The Zynprint Print-Ready Artwork Calculator is intended to make common artwork measurements easier to work through. Use it to check the dimensions and calculations relevant to your setup, such as adding bleed to a trim size. Confirm that the values match the print provider’s exact requirements before exporting or ordering.
Remember that print readiness also includes factors a size calculator cannot fully inspect, such as image quality, font embedding, color profiles, transparency, overprint, dielines, and the exported PDF’s technical validity. Combine the calculator with a complete preflight review.
Frequently asked questions
Is 300 DPI always required for print?
No. The appropriate effective resolution depends on the print process, viewing distance, image content, and provider specification. 300 PPI is a common benchmark for close-viewed images, not a universal rule for every product.
How much bleed should I add?
Use the amount specified by the printer or product template. Three millimeters is a common example for some commercial print products, but requirements vary. Do not apply it automatically to every job.
Should I convert artwork to CMYK?
Follow the print provider’s color instructions. Some workflows request a specific CMYK profile; others may accept RGB and perform conversion themselves. Ask before converting, especially when brand colors matter.
Should I include crop marks?
Only if the printer requests them. Some production workflows generate marks automatically, and extra marks can interfere with automated processing if included incorrectly.
Can I use a JPEG for print?
Some printers accept high-quality JPEGs for certain products, while others require PDF or another format. Follow the exact file-type and quality requirements for the job.
Does a calculator guarantee my file is print-ready?
No. A calculator can help with measurements, but it cannot verify every production property of an artwork file. Use the printer’s specifications and inspect the exported file before submission.
Final takeaway
Reliable print preparation begins with the printer’s specification and a clear distinction between trim size, bleed, and safe area. Check image resolution at final size, follow the requested color workflow, prepare fonts correctly, export to the required standard, and inspect the finished PDF. The Zynprint Print-Ready Artwork Calculator can support the measurement stage, while a complete preflight check helps catch the details that dimensions alone cannot validate.