
Print File Preparation: A Preflight Guide for Designers
Preparing artwork for professional printing involves more than choosing the right dimensions and exporting a PDF. A file can look correct on a screen and still produce unexpected results if its trim size, bleed, safe area, image resolution, color settings, fonts, or export options are incorrect. A consistent preflight routine helps you catch these issues before sending files to a print provider.
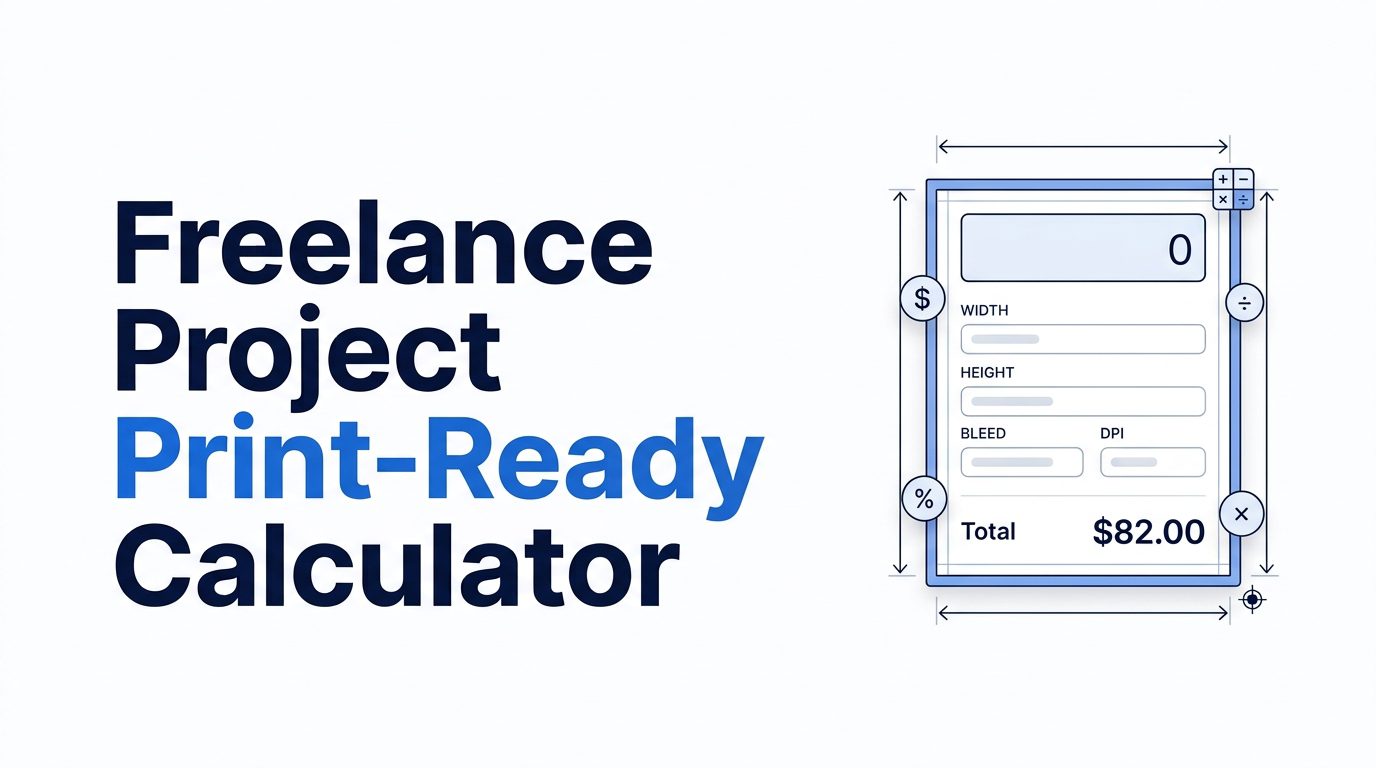
This guide focuses on practical checks for common print projects such as flyers, posters, business cards, packaging artwork, and other designed materials. Requirements vary by printer, product, paper, and finishing method, so always compare your file with the supplier’s current specifications. Use the Zynprint Print-Ready Artwork Calculator to help calculate dimensions and prepare a starting checklist, then review the production details below.
What does print-ready artwork mean?
Print-ready artwork is a file prepared to meet the technical requirements of a particular print job. It should have the correct finished dimensions, appropriate bleed and safe margins, sufficient image quality, suitable color settings, properly handled fonts, and an export format accepted by the printer. The file should also be checked for missing links, unwanted marks, incorrect page order, and other production errors.
There is no single universal preset that makes every design print-ready. A commercial printer may request a PDF with specific standards, a packaged native file, or another format. Large-format printing, labels, folded pieces, and packaging can each require different setup details. The printer’s template and written specifications take priority over generic advice.
1. Confirm the finished trim size
Trim size is the final physical size after the printed sheet is cut. Set the document to the required finished dimensions before designing, rather than relying on a later resize that could distort elements or change image resolution. Confirm orientation and whether the dimensions refer to one finished panel, a spread, or the full unfolded piece.
For example, a two-sided business card, folded brochure, and packaging dieline each have different production geometry. A folded item may need a flat layout that includes multiple panels, while the finished size describes the folded result. If a printer supplies a template, use its dimensions and panel guides rather than recreating them from memory.
2. Add bleed where artwork reaches the edge
Bleed is extra artwork extending beyond the trim line. It gives the printer a margin for small cutting variations so that a background or image intended to reach the edge does not leave a thin unprinted sliver. Extend edge-to-edge backgrounds and photos through the specified bleed area.
Bleed amount is job-specific. Many standard products use a small bleed such as 3 mm, but this is not a universal requirement. Large-format work, packaging, labels, and specialty finishing may require a different amount or a supplied dieline. Check the printer’s instructions before setting the document.
Bleed versus trim versus safe area
- Bleed: extra artwork outside the final cut edge.
- Trim line: the boundary where the finished piece is cut.
- Safe area: an inner region where important text and logos should remain to reduce the risk of being cut or appearing too close to the edge.
Do not place critical content in the bleed. Extend backgrounds outward, but keep names, phone numbers, logos, and essential details comfortably inside the safe area specified for the product.
3. Keep important elements inside safe margins
Safe margins protect important content from trimming variation, binding, folding, and finishing. The correct margin depends on the product and process. A business card may use a different safe area from a booklet page or a folded brochure. For bound documents, inner margins may need additional space for the binding or gutter.
Use guides or nonprinting layout layers to mark trim, bleed, folds, and safe areas. Before export, verify that guides are not accidentally included in the final artwork unless the printer specifically requests them. Review each page at actual size and check that small text and logos are not crowded against edges or folds.
4. Check image resolution at the final output size
Resolution describes image detail relative to its physical output size. A common target for many close-viewed commercial print images is 300 pixels per inch at final size, but the correct value depends on the print process, viewing distance, image content, and printer specifications. Large banners viewed from farther away may use lower effective resolution; fine text and detailed images may need more care.
Do not judge resolution only by the pixel dimensions shown in an image editor. A 1500-pixel-wide image placed at 5 inches has a different effective resolution from the same image placed at 10 inches. Enlarging a small image in a layout application does not create missing detail. Inspect placed images at their intended physical size and replace low-resolution sources when possible.
5. Choose color settings with the printer
Digital screens emit light and commonly display color using RGB, while many print workflows use CMYK inks or other color systems. Converting colors can change their appearance, especially for bright saturated screen colors. However, it is not always correct to convert every file to a generic CMYK profile yourself: some printers request RGB files and perform their own conversion using a specific workflow.
Ask which color mode and ICC profile the printer recommends. If a profile is provided, use it consistently and soft-proof where supported. Keep in mind that paper stock, ink, coating, and press conditions affect the final result. For brand-critical colors, request a proof or discuss spot-color requirements with the print provider.
6. Handle fonts and text carefully
Missing fonts can cause substitutions, changed line breaks, or altered spacing. Depending on the application and printer requirements, fonts may be embedded in the exported PDF or converted to outlines. Embedding keeps text searchable and may support later edits, while outlining converts characters into vector shapes but makes text less editable and can increase complexity.
Follow the printer’s instructions and check font licensing before sharing editable files. Proofread all text before outlining. Confirm that small type remains legible at final size, that special characters display correctly, and that line breaks and punctuation have not shifted during export.
7. Export a PDF using the requested settings
PDF is widely used for print delivery because it can preserve page dimensions, vector artwork, embedded fonts, and image data. But selecting “Save as PDF” alone does not guarantee a production-ready file. Use the export preset or settings requested by the printer, including the correct page size, bleed, marks, color handling, and image compression.
Some printers request crop marks; others prefer files without them because their workflow adds marks automatically. Include marks only when requested, and ensure they sit outside the finished trim area. If the printer asks for a PDF/X standard, select the specific version they support rather than choosing one at random.
8. Inspect the exported file—not only the design document
Open the exported PDF in a reliable viewer and inspect every page. Confirm page size, orientation, page order, bleed, and the placement of important elements. Zoom in to check small text, fine lines, image quality, transparency effects, and unexpected artifacts. If possible, use a preflight tool to identify missing fonts, low-resolution images, color-space issues, or objects outside the page boundary.
For multipage documents, verify that the number of pages and sequence match the printer’s instructions. For folded pieces, confirm panel order and fold direction. For packaging or labels, check that dielines and finishing layers follow the supplied template and are set up as requested.
9. Prepare special finishing and production elements
Some print jobs require spot colors, white ink, varnish, foil, embossing, die cuts, or other finishing. These elements often need dedicated spot-color swatches, separate layers, overprint settings, or exact naming conventions. Do not improvise these technical details: request the printer’s production guide or template and follow it closely.
Keep production instructions separate from visible customer-facing artwork unless the printer asks for a combined file. Confirm whether a dieline should be included, excluded, or supplied as a separate layer. Review overprint and knockout behavior because incorrect settings can cause elements to disappear or print unexpectedly.
10. A practical print-ready preflight checklist
- Confirm the finished trim dimensions and orientation.
- Use the correct template for folds, panels, binding, or packaging.
- Set the bleed to the printer’s specified amount and extend edge artwork into it.
- Keep essential content within the recommended safe area.
- Check placed images at final size for adequate effective resolution.
- Use the requested color mode and profile, not an assumed universal setting.
- Embed or outline fonts according to the printer’s requirements.
- Export to the requested file format and PDF standard, if specified.
- Include crop marks only when requested.
- Inspect the exported file for page size, order, missing assets, and visual artifacts.
- Verify special colors, dielines, and finishing layers against the production guide.
- Use clear filenames and include any required job notes separately.
Common print-preparation mistakes
- Designing at the wrong size: confirm final dimensions before layout and avoid unplanned scaling.
- Forgetting bleed: extend edge-to-edge artwork beyond trim by the specified amount.
- Placing text too close to trim: use safe-area guides and inspect the final size.
- Upscaling low-resolution images: replace the source or adjust the design rather than assuming scaling adds detail.
- Converting color without instructions: follow the printer’s color workflow and profile guidance.
- Exporting without checking the PDF: inspect the actual delivery file after export.
- Adding unnecessary marks or dielines: include production elements only as requested.
- Ignoring proofing: check spelling, prices, contact details, and page order before approval.
Frequently asked questions
Is 300 DPI always required for print?
No. Around 300 PPI is a common target for many close-viewed print images, but resolution needs vary with print process, viewing distance, image type, and supplier requirements. Confirm the target for your specific job.
Should every print file be CMYK?
Not necessarily. Some printers request CMYK with a specific profile, while others accept RGB and manage conversion. Follow the printer’s stated workflow to avoid unnecessary or incorrect conversions.
How much bleed should I add?
Use the amount specified by the printer or product template. A small bleed such as 3 mm is common for some standard products, but it is not universal.
Should I outline all fonts?
Only when appropriate for the delivery requirements. Embedding fonts in a PDF is often suitable, while outlining can prevent font substitution but reduces editability. Follow the printer’s instructions and proofread first.
Can I use a PDF exported from Canva or another design app?
It may be acceptable if the export meets the print provider’s specifications for dimensions, bleed, fonts, color, and file format. Inspect the exported PDF and use the printer’s template when one is available.
Use the Zynprint Print-Ready Artwork Calculator
Before final export, use the Zynprint Print-Ready Artwork Calculator to help work through your artwork dimensions and preparation requirements. Then compare the result with your print provider’s template and complete the preflight checklist in this article. The calculator is a planning aid; the supplier’s current production specifications determine the final setup.
Conclusion
Reliable print preparation comes from checking the finished size, bleed, safe margins, image resolution, color workflow, fonts, export settings, and final PDF as one connected process. Requirements differ by product and printer, so use the supplier’s current instructions as the authority. A careful preflight before submission can catch preventable production issues and make the handoff clearer for both designer and printer.